How to Properly Prepare Surfaces for Commercial Painting: A Comprehensive Guide
In this Article:
The Importance of Surface Preparation for Painting
Why is Surface Preparation Important?
Step-by-Step Guide to Surface Preparation for Painting
Step 1: Assess the Surface Condition
Step 3: Repair Damaged Areas – Surface Preparation for Painting
Step 4: Remove Loose Paint and Sand the Surface
Step 6: Choosing the Right Paint
The Key to a Successful Commercial Paint Job – Surface Preparation for Painting
Regarding commercial painting, surface preparation is one of the most critical factors determining the final result’s quality and durability. This comprehensive guide will discuss the importance of surface preparation and provide step-by-step instructions on properly preparing various surfaces for painting.
The Importance of Surface Preparation for Painting

When it comes to painting, many people focus solely on choosing the right colors and brushes, but they often overlook a crucial step in the process: surface preparation. The importance of surface preparation for painting cannot be emphasized enough. It lays the foundation for a successful and long-lasting paint job.
Why is Surface Preparation Important?
Proper surface preparation is essential for a top-quality painting project for several reasons:
- Enhances Durability: Surface preparation increases the durability of the paint job. Removing dirt, dust, grease, and loose particles creates a clean canvas for the paint to adhere to. This step prevents premature wear and tear, allowing the paint to last longer.
- Improves Adhesion: A well-prepared surface provides a solid base for the paint to bond with. It improves adhesion, reducing the risk of flaking or peeling over time. Adequately prepared surfaces allow the paint to grip firmly, producing a professional-looking finish.
- Smooth and Even Finish: Surface imperfections such as cracks, holes, or bumps can affect the appearance of the paint. Addressing these issues during surface preparation ensures a smooth and even finish. It creates a visually appealing result and enhances the overall aesthetics of the painted surface.
- Prevents Moisture Damage: Moisture can wreak havoc on a painted surface. Moisture can seep through cracks and imperfections without proper preparation, causing the paint to bubble, blister, or peel. Thorough surface preparation acts as a barrier, protecting your surfaces from moisture-related damage.
Step-by-Step Guide to Surface Preparation for Painting
Step 1: Assess the Surface Condition
Before starting any surface preparation:
- Assess the condition of the surface you intend to paint.
- Inspect for signs of damage, such as cracks, holes, or loose paint.
- Check for any presence of mold, mildew, or dirt. This assessment will help you determine the necessary steps to take during preparation.
Step 2: Clean the Surface
Cleaning the surface is crucial to removing dirt, grease, and other contaminants that prevent proper paint adhesion. Use a mild detergent solution and a soft brush or cloth to clean the surface gently.
For stubborn stains, mold, and mildew, use a combination of water and bleach or a commercial cleaning solution specifically designed for the purpose. Rinse the surface thoroughly with clean water and allow it to dry completely before moving on to the next step.
Step 3: Repair Damaged Areas – Surface Preparation for Painting
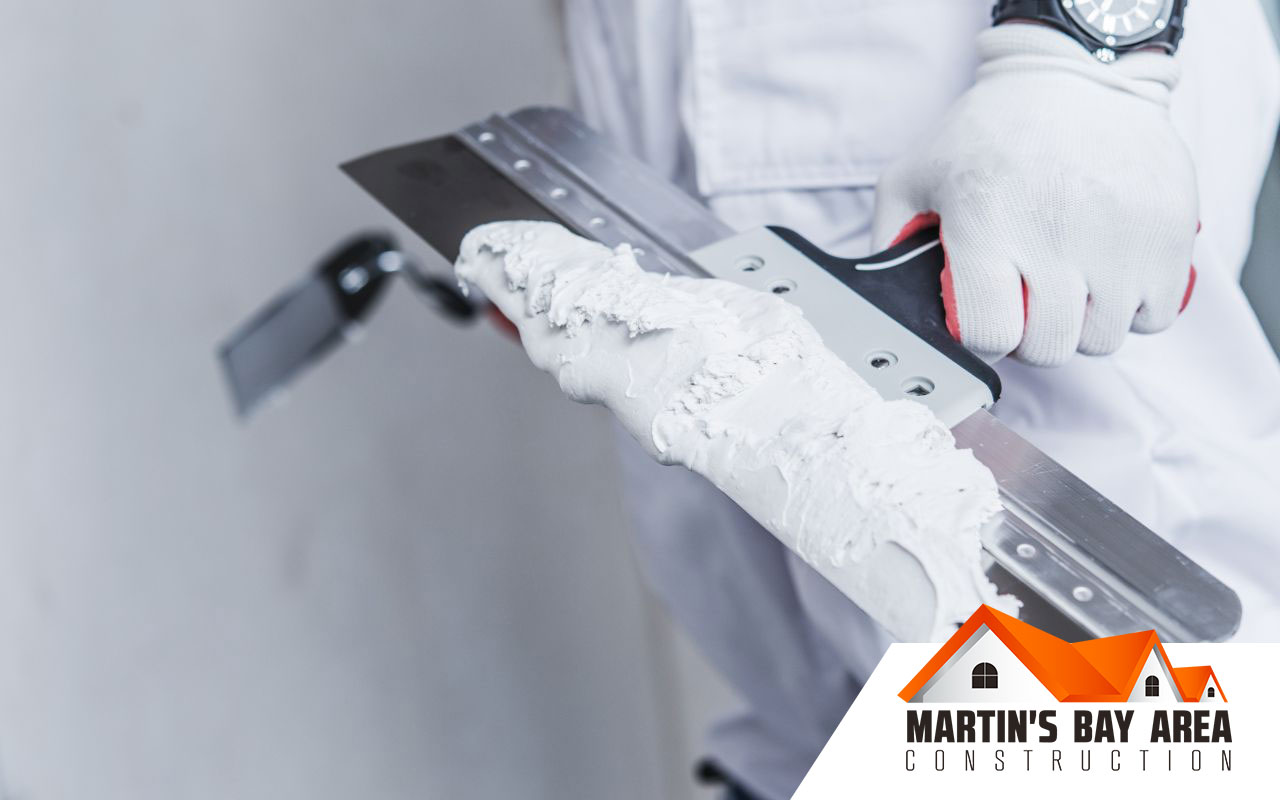
Fix any cracks, holes, or other damages on the surface. Use a putty knife to fill small cracks and holes with a suitable filler, such as spackling compound or wood filler. You may need to use a patching compound or replace the damaged section for more extensive damage. Once the repairs are complete, sand the patched areas smoothly with fine-grit sandpaper.
Step 4: Remove Loose Paint and Sand the Surface
Peeling or flaking paint must be removed before applying new paint. Use a paint scraper or wire brush to remove any loose paint. Then, sand the entire surface with medium-grit sandpaper to create a smooth and even base for the new paint. Be sure to wear a dust mask and safety goggles during this process to protect yourself from dust and debris.
Step 5: Prime the Surface
Applying a primer is an essential step in surface preparation, as it helps create a uniform base for the paint to adhere to and enhances the paint’s durability. Choose a primer compatible with the type of paint you plan to use, and follow the manufacturer’s instructions for application. Allow the primer to dry completely before applying the paint.
Step 6: Choosing the Right Paint
Selecting the right paint is crucial for achieving a successful outcome. Consider the surface material, the environment, and the desired finish. Pick a high-quality paint that is suitable for the specific surface.
How to Choose the Right Paint

Selecting the right paint is essential for achieving a successful and long-lasting paint job. Here are some factors to consider when choosing the appropriate paint for your project:
Surface Material: Different surface materials require different types of paint. Whether you are painting wood, metal, concrete, or drywall, ensure that the paint you select is specifically formulated for that surface. This ensures better adhesion and durability.
Indoor or Outdoor Use: Consider whether the painted surface will be indoors or outdoors. Outdoor surfaces are exposed to harsh weather conditions, UV rays, and moisture, so it’s important to choose a paint that is designed for exterior use. Indoor paints may have specific features like low odor or mold resistance.
Finish and Sheen: Determine the desired finish and sheen for your project. Paints come in various finishes, such as flat, eggshell, satin, semi-gloss, and high-gloss. Each finish has its own aesthetic appeal and practical considerations. For example, high-gloss paints are easier to clean and are often used in high-traffic areas.
Color Selection: Consider the color palette and the mood you want to create in the space. Take into account the lighting conditions and the existing décor. Many paint brands offer color swatches or online tools to help you visualize how different colors will look in your space.
Quality of Paint: Opt for high-quality paint from reputable brands. Quality paints are often more durable, offer better coverage, and provide a smoother finish. They may also resist fading, yellowing, or cracking over time. It’s worth investing in superior paint to ensure better results and longevity.
Environmental Impact: If you are conscious of the environmental impact, look for paints that are labeled as low VOC (volatile organic compounds) or zero VOC. These paints release fewer harmful chemicals into the air, promoting better indoor air quality.
Research and Reviews: Before making a final decision, research different paint brands and read customer reviews. This step can give you insights into the paint’s quality, performance, and durability. Websites like Consumer Reports or paint manufacturer websites often provide helpful information and reviews.
Remember, it’s always a good idea to consult with paint professionals or experts at a paint store. They can provide personalized recommendations based on your specific project requirements and guide you in choosing the right paint for your surface.
The Key to a Successful Commercial Paint Job – Surface Preparation for Painting

Proper surface preparation is crucial for achieving a high-quality, long-lasting commercial paint job. By following these steps, you can ensure your surfaces are clean, smooth, and ready for painting. Remember, investing time and effort in surface preparation will not only result in a more professional finish, but also save you time and money in the long run by reducing the need for frequent touch-ups or repainting. If you want to hire professional painters for your interior and exterior painting projects, do not hesitate to contact Martin’s Bay Area Construction.
